Week 6 filming techniques in camera

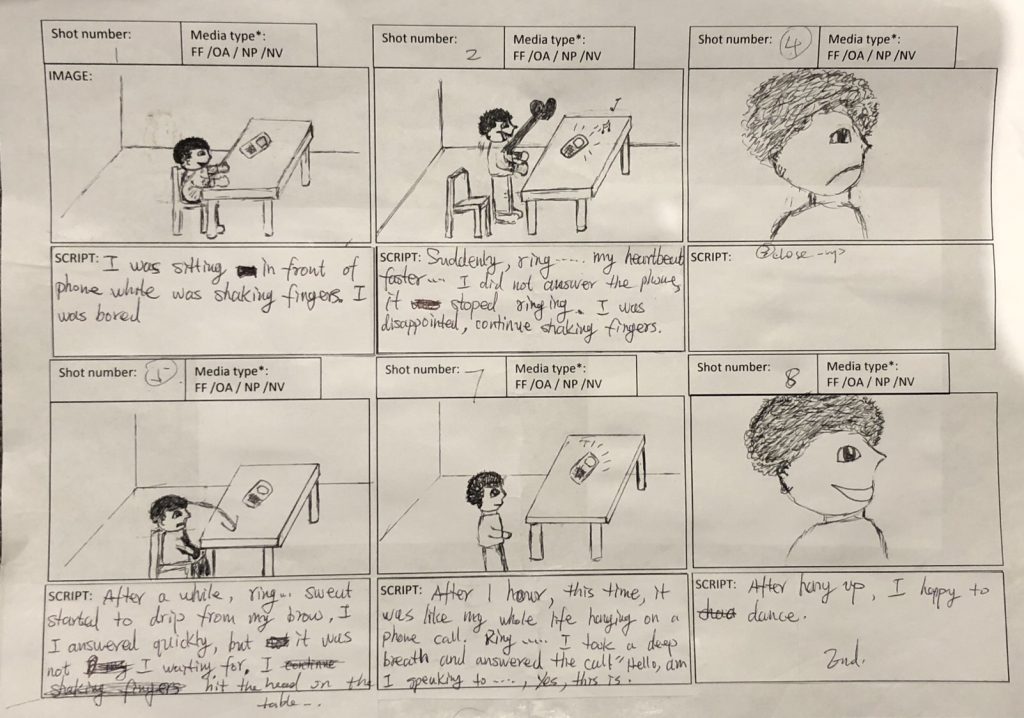
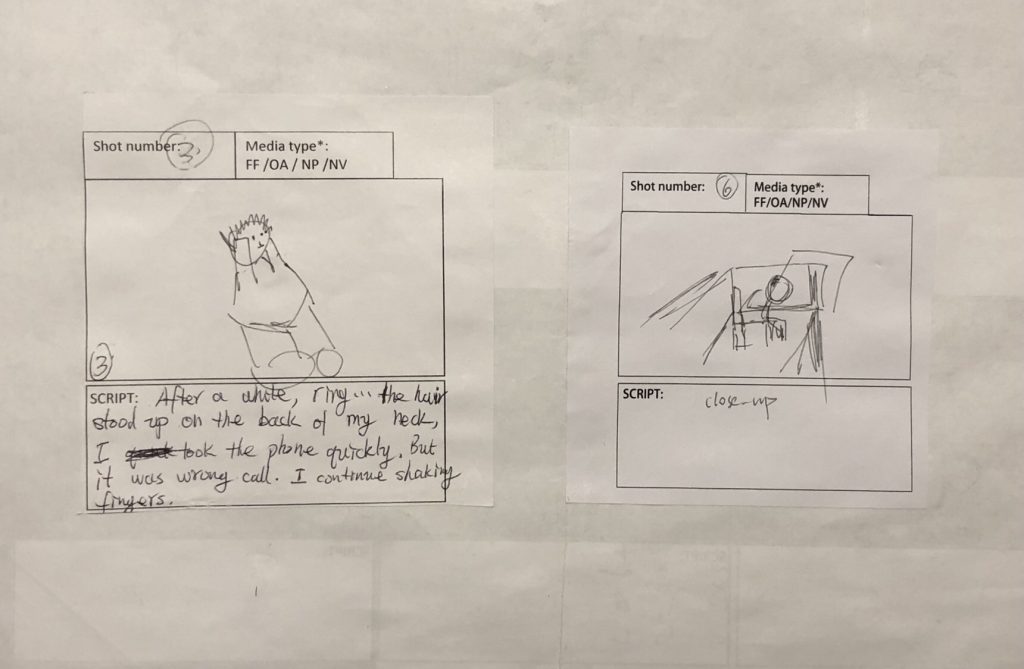
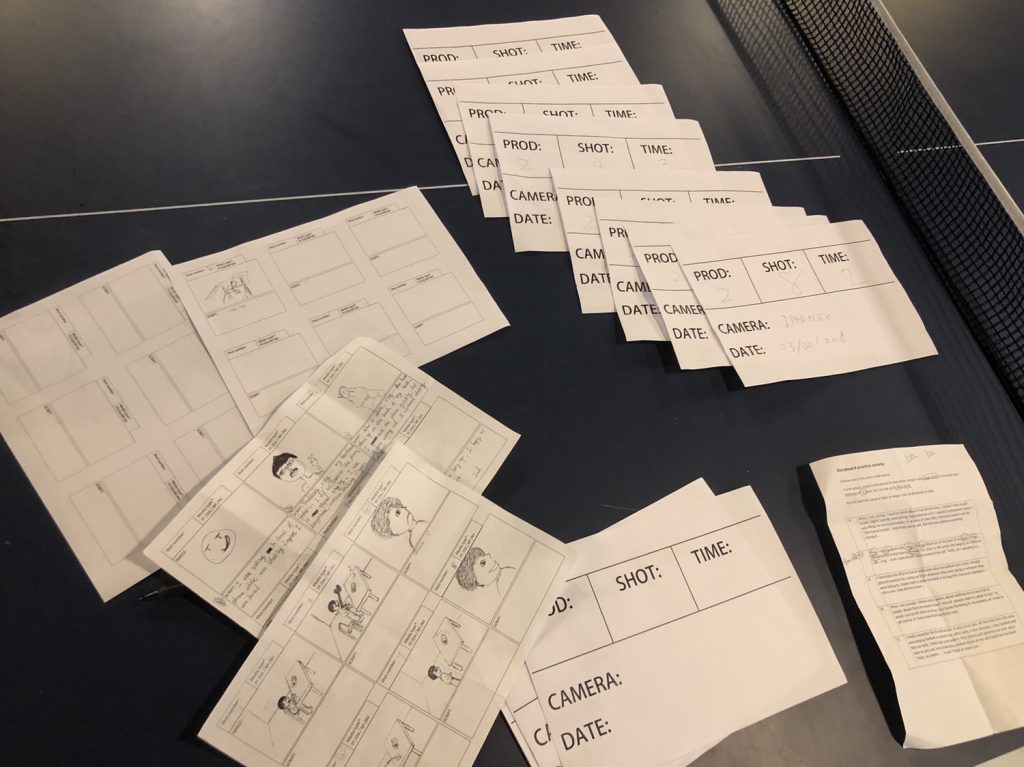
Today, Simon have reviewed some useful techniques to help us making a better story.  Our group chosen Slow-motion and presented by tossing a coin. This short video aimed to show a student’s anxiety before he starts to study.

Here is my final video:

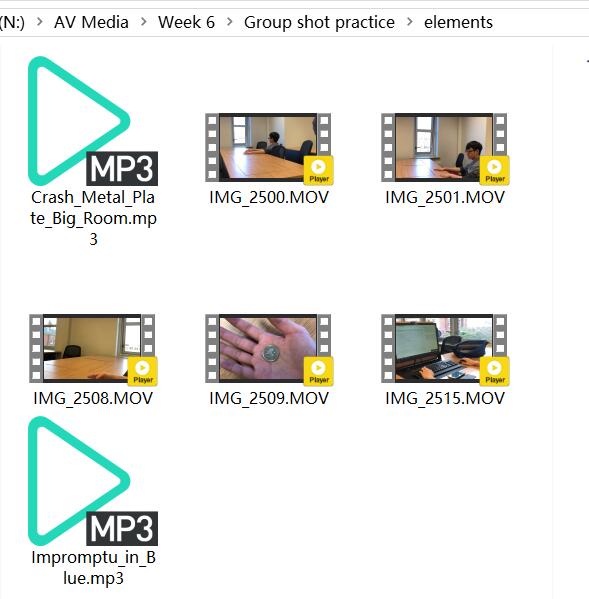
The sound effect of coin tossing is called “Crash Metal Plate Big Room”, and the background music is called “Impromptu in Blue”. They are both came from Youtube Audio Library. As you can listen, I had reversed the coin tossing’s effect when it has falling back to his hand. It made the coin’s tossing more vivid.

When I published this video and replay several times, I found that the times of head turn maybe too excessive. I will avoid this problem next time.

Elements:

Week 3 – weekend homework

Storyboard practice activity


Comments:

This video is not good enough for me, because I did not add any soundtrack(could not find suitable music in a short time). However, I will improve this situation next time and present a better quality of my work.


Objective:

In your group, create a storyboard for the scene, trying to use a range of shots. You should use a minimum of 6 shots, but can use up to 18 or more.

You will use it to create a video no longer than 30-40 seconds in total.


And this was our chosen:


Our script:


Our work:


At the end, we take photos with each other, then said goodbye:

Pan and Zoom


At this time, we learned something about camera movement:

•Pan:

– The camera pivots left and right

• Truck:

– The camera moves left and right

• Zoom/ Dolly:

– Note: zoom = change camera lens (avoid digital zoom)

– Dolly = move camera nearer/ further

• Tilt:

– The camera pivots up and down.

• Pedestal:

– The camera moves up and down without tilting.

Finally, we put ‘pan’ and ‘zoom’ in some pictures by using Premiere and create a short video which I already put in this post.

And the reason why I chose pan and zoom in the way I did was just improvise.